

TOPPER HAIR EXTENSIONS
RARES Hair toppers are applied by first preparing your natural hair so the clips have a good grip, usually by smoothing or lightly backcombing the roots.
Then the topper is positioned about one to two centimeters behind your natural hairline and the front clip is secured first. After that, the side and back clips are closed to hold the topper firmly in place.
Finally, you blend your natural hair with the topper so the texture and part look seamless and natural.
1. Prep Your Natural Hair
✔ Determine the Correct Parting
- Align your natural part with the topper’s part line.
- If your topper has a fixed part, style your natural hair accordingly.
- For freestyle part toppers, you can set the part after application.

✔ Create a Smooth Base
- Use a smoothing serum or light mousse to eliminate flyaways
- Blow-dry roots upward for volume if thinning is present.
- For clip-in toppers, lightly tease (backcomb) the root area where the clips will attach. This provides grip and reduces slippage.
2. Prep the Hair Topper
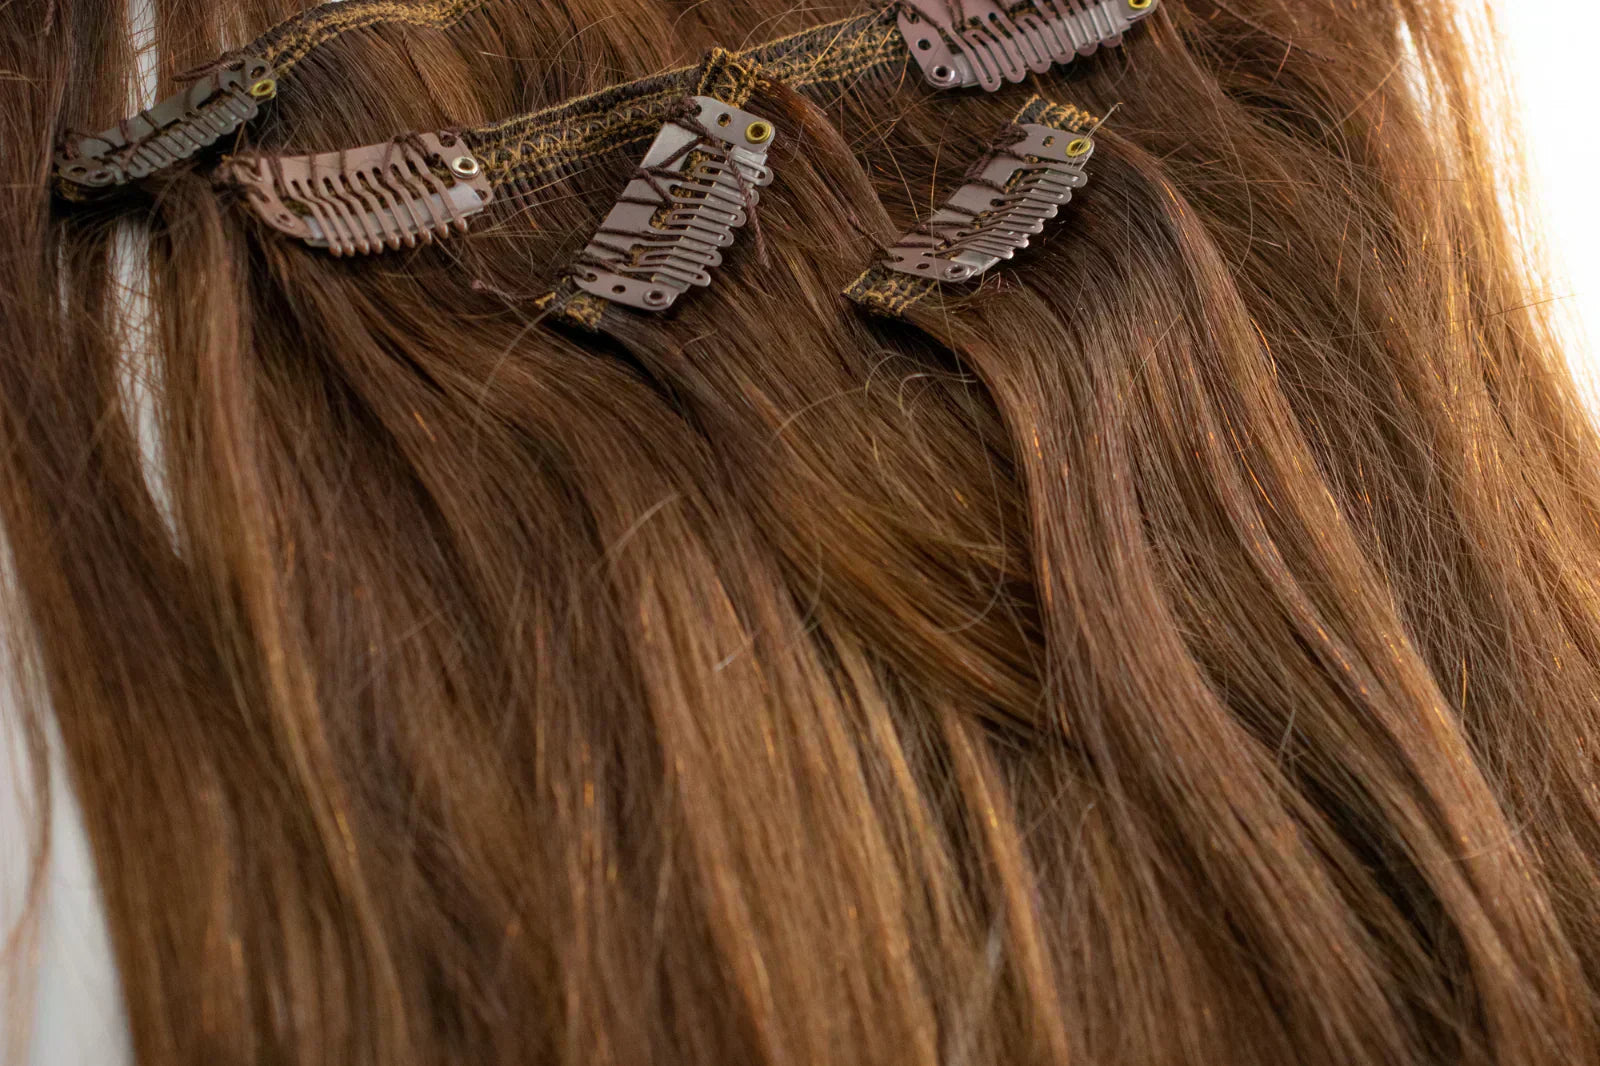
✔ Check Clip Positioning
Ensure all clips open and close smoothly. Replace stretched or weak clips.
✔ Pre-Style the Topper
- Style with heat tools before installation (for human-hair toppers).
- For synthetic toppers, use only heat-safe tools if the fiber supports it.
- Shake or finger-comb to add natural lift at the roots.
3. Placement and Positioning
✔ Locate the Ideal Placement Point
Most toppers should sit 1–2 cm behind your natural hairline.
This prevents tension and creates the most seamless blend.
✔ Secure the Front Clip(s) First
- Hold the topper over your head.
- Place it slightly behind your hairline.
- Secure the front clip, making sure it sits flat.
✔ Attach Side and Back Clips
- Move systematically from front → sides → back.
- Press clips firmly to snap them closed.
- Ensure no bunching or pulling occurs.
4. Blending Your Natural Hair
✔ Blend the Perimeter Hair
- Pull out tiny sections of your natural hair around the hairline if needed.
- Clip and smooth them over the topper edge for an undetectable look.
✔ Blend Through the Lengths
- Use a wide-tooth comb or paddle brush.
- Curl or straighten topper and natural hair together for a unified texture.
- Add a little root powder, concealer, or fiber spray at the part for realism.
5. Finishing Touches
✔ Set the Style
- Use light-hold hairspray or texturizing spray.
- Avoid heavy products on synthetic fiber.
✔ Check for Comfort & Security
- Ensure no pulling, pinching, or scalp tension.
- Adjust clip placement if you feel strain on thinning areas.
✔ Optional Extra Security
For higher activity levels:
- Use snap-comb clips with silicone backing
- Apply topper tape on the perimeter (for lace/mono bases)
- Use weft grip bands for no-clip support
- Integrate with microbeads for semi-permanent wear (professional only)
Expert Tips & Common Mistakes
✔ Choose the Right Size Base
The topper base must cover the thinning area fully. A too-small base can worsen breakage.
✔ Match Density, Not Only Color
If your natural hair is very fine, a dense topper will look unrealistic.
✔ Avoid Clipping on Fragile Areas
Shift clips onto healthier hair strands to prevent additional thinning.
✔ Clean Clips Regularly
Residue can make clips slip or tug on the roots.
Written by Rares Hair

Leave a comment
This site is protected by hCaptcha and the hCaptcha Privacy Policy and Terms of Service apply.